Creating a C2 infrastructure on AWS
In this lesson, I will teach you how to create a secure C2 infrastructure on the AWS cloud. Firstly we will discuss what a C2 infra is, and it's design, ending up in building our own from start to finish.
RED TEAM PATH
Lorenzo Meacci @kapla
1/19/20258 min read


Introduction to C2 frameworks and infrastructures
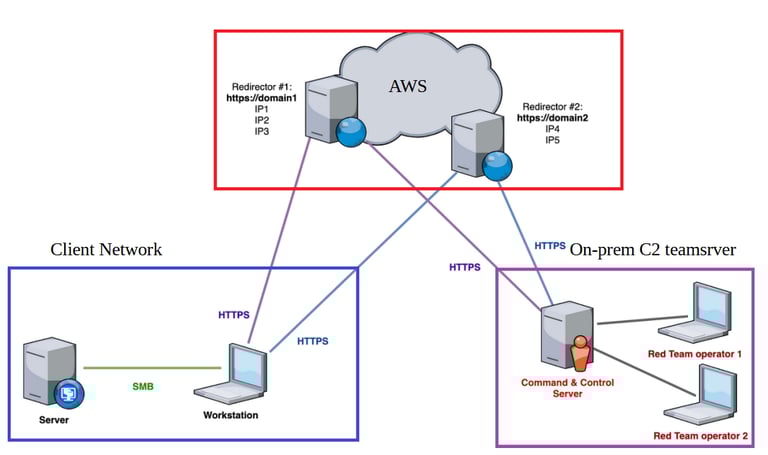
A Command and Control (C2) framework is a platform used by red teamers to manage remote compromised systems. Most of the time, C2s are composed of two main components: the team server and the client. The team server is the core of the C2, while on the other hand, the client is used by the team to access the team server. During labs and CTFs, often using a VPN file, we are directly connected to the vulnerable network, and the connection is direct. In real life, this is rarely the case, and the team server in the Red Team private network is not accessible from the victim machines. This is where a C2 infrastructure comes into play; this infrastructure is most often hosted on the public cloud and accessible by both the team server and the victim network, acting as a bridge between the two (The only prerequisite is internet connection).
Design
The design is fairly simple: in AWS or any other cloud platform, we can register a domain name and point it to an EC2 instance hosting an Apache2 web server. We can then configure the Apache forwarding rules to bind a specific local port, which is then forwarded again using SSH. It's easier than it sounds, and I will take you through the entire process.
A general look of what the traffic will look like is the following:
AWS steps
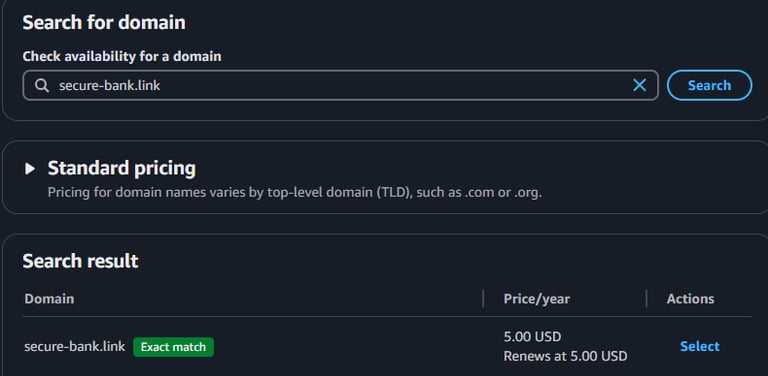
1) Purchase a domain e.g (secure-bank.link) .link TLD is cheap and perfect for the demo
2) Set up a EC2 instance (this is just a VM in the cloud with a public ipv4 address)
3) Configure the DNS records (we just need an A record pointing to the EC2 IP)
4) Set traffic forwarding and rules
Purchase the domain
in AWS there is a service called Router53 which allows us to buy and manage domain names, it can take a while to register a domain (Around 2 hours) so let's do this first.
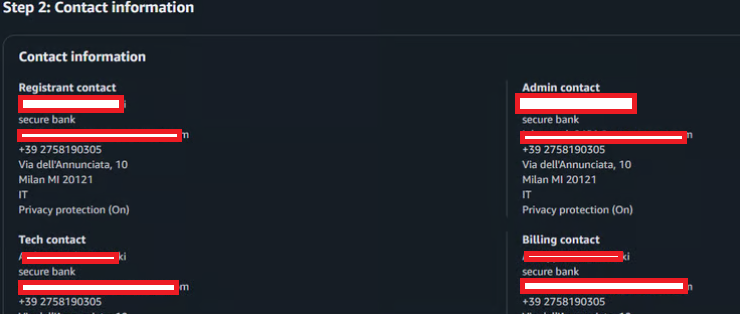
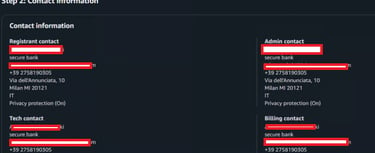
I purchased the secure-bank.link domain:
Now we will need to fill the contact information (which can be false) like in this case:
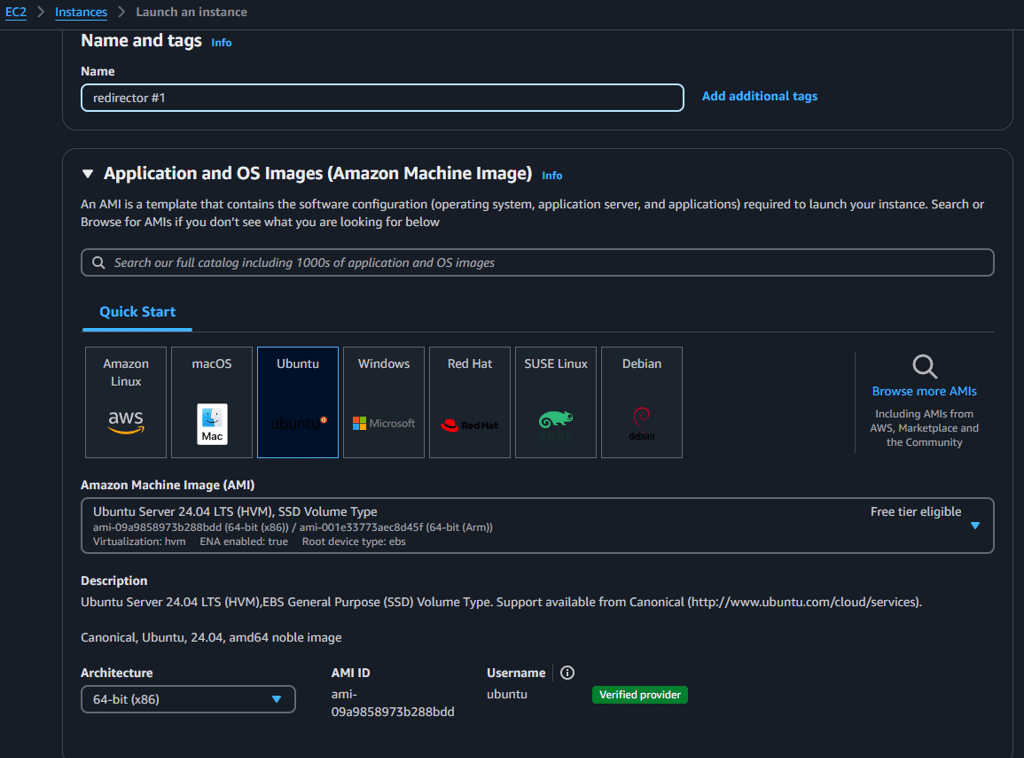
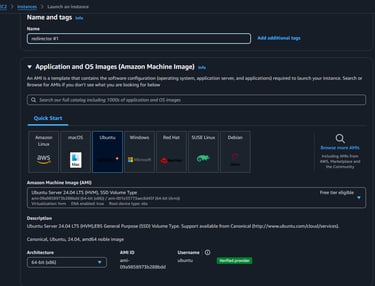
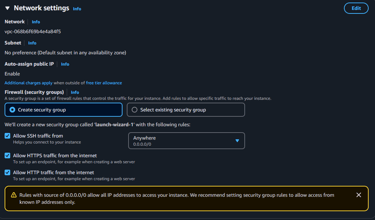
While the domain is in registration, we can navigate to the EC2 service and create an instance, I chose for convenience the ubuntu OS, but you are free to choose the one you prefer.
Also in the network settings you need to enable the HTTP/S and SSH security groups, what this does is forward incoming traffic on the respective ports to the EC2 instance.

Now, if you haven't already, AWS should have provided you the SSH keys used to login to the EC2 instance. Once in you can download Apache with the following commands:
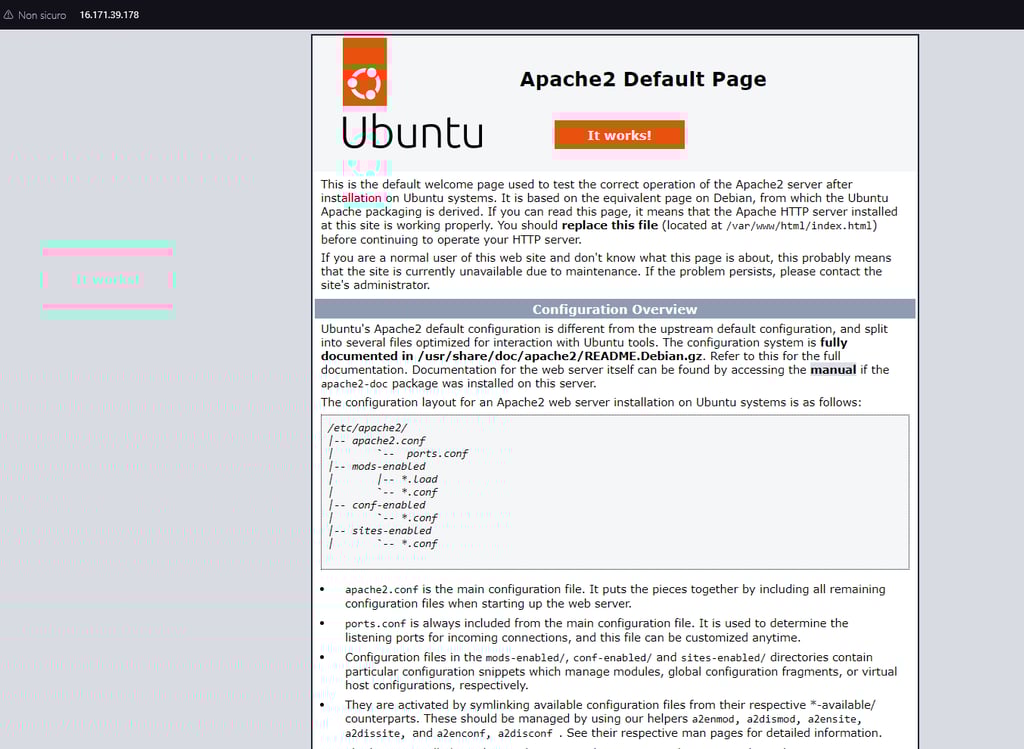
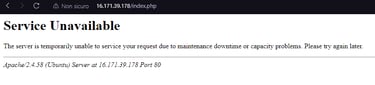
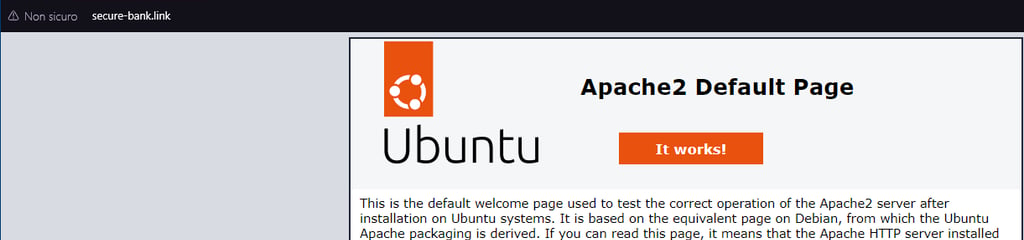
We can quickly test the traffic rules by navigating in a web browser to the IP address of the EC2 instance:
HTTP configuration
Although HTTPS traffic is far better (because it's encrypted) I will first show how to set up the redirector to use HTTP. HTTPS setup is a little more tedious and finding the issue can be a pain. If you are not interested in the HTTP setup, skip to the HTTPS part.
We want to set up the following on the EC2 instance:
1) Redirect all incoming traffic on http://<EC2 public IP>:80 to the EC2 instance's localhost on port 8000 (localhost:8000).
2) Establish an SSH tunnel that forwards all traffic from the EC2's localhost:8000 to the localhost on our Kali Linux machine (localhost:80) where the teamserver is listening
To configure proxy traffic with Apache, you need to enable the .htaccess configuration file. This file allows you to control how Apache handles various settings. To enable it, modify the file located at /etc/apache2/sites-enabled/000-default.conf and add the following lines at the bottom:
Now, we need to create a regular expression that forwards all incoming HTTP traffic to the index.php file, to localhost:8000/index.php.
Create the .htaccess file in /var/www/html and enter the following:
The first line enables the RewriteEngine on and the second one replaces a request like http://<EC2 public ip>/index.php to http://localhost:8000/index.php
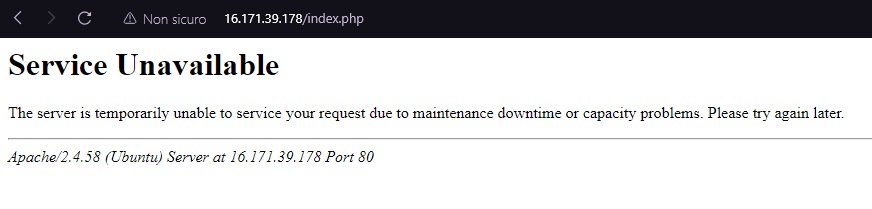
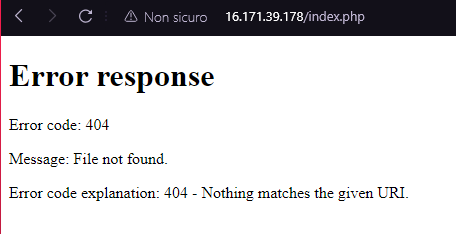
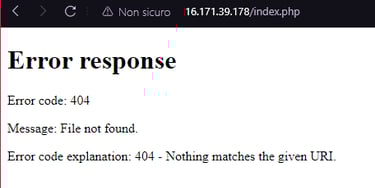
Of course if we try to visit the index.php now it will fail to do so because nothing is configured to handle traffic on localhost:8000:
This is where SSH becomes useful. We can create an SSH tunnel to forward all incoming traffic from the redirector on local port 8000 to our team server, where the listener is running on local port 80.
-N to not get a shell
-R stands for remote port forwarding
we can now start a python server on port 80 to see if the forwarding is actually working:


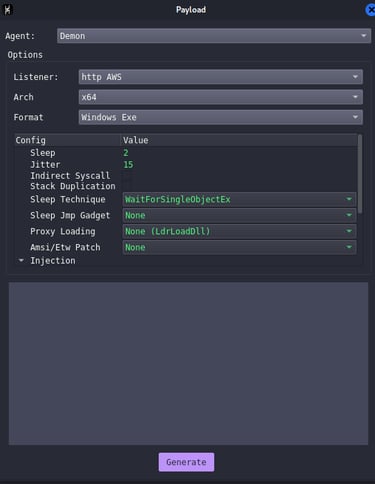
We can now create a Havoc listener
Note: If you're not familiar with how to use the Havoc C2, don't worry. In the coming weeks, I will publish the next Path blog post on how to install it and use it in detail. for now THIS is the documentation

Generate the payload: Don't worry about the payload OPSEC, future blogs about it are coming, it's always a bad idea to rawdog the payload on disk, also disable defender auto sample submission or signatures can be created and this is like shooting our own feet

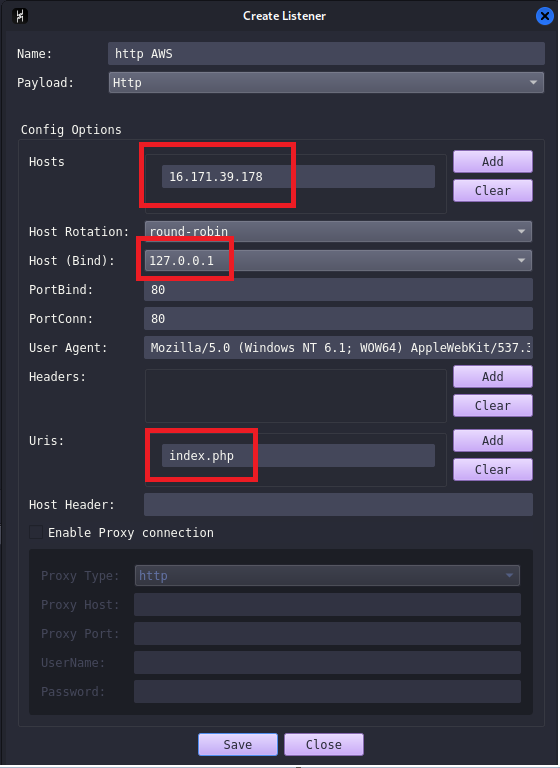
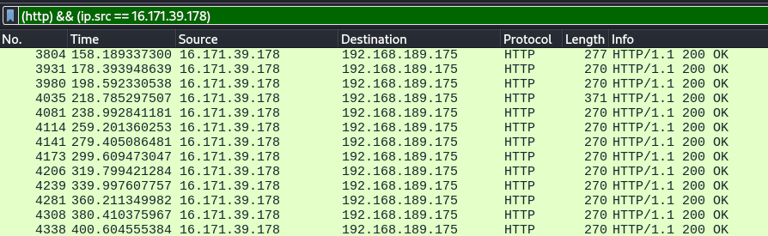
I have noticed that the URI function in Havoc can be somewhat buggy. If you don’t see a connection back, analyze the traffic using Wireshark to determine what is being requested. In this case, no index.php request is being made.

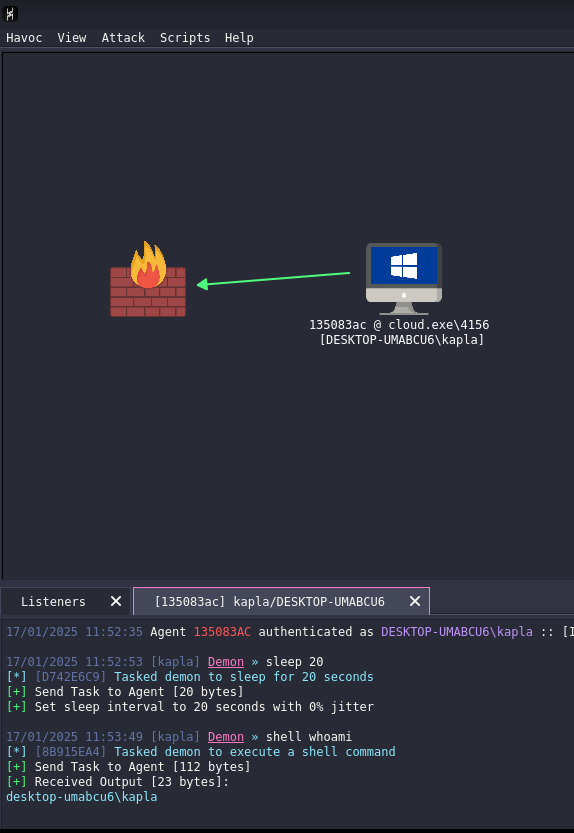
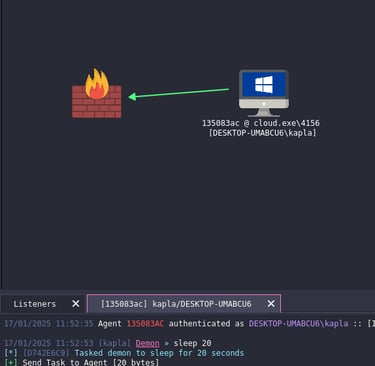
So I modified the listener URI and got my connection back:
HTTPS Configuration
Most of the steps are the same as HTTP, so I will not repeat everything.
Coming back to the Route 53 dashboard, the domain FINALLY got registered:

we can now configure the A record pointing to the EC2 instance, for reference watch this video: How to setup DNS records in Router 53

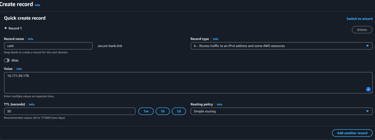
Note: at some point the public ipv4 will switch from 16.171.39.178 to 13.60.255.246, this is because I turned off my EC2 instance and this caused to have an ipv4 change
Once the record is propagated, we will be able to access the Apache web server via domain name:
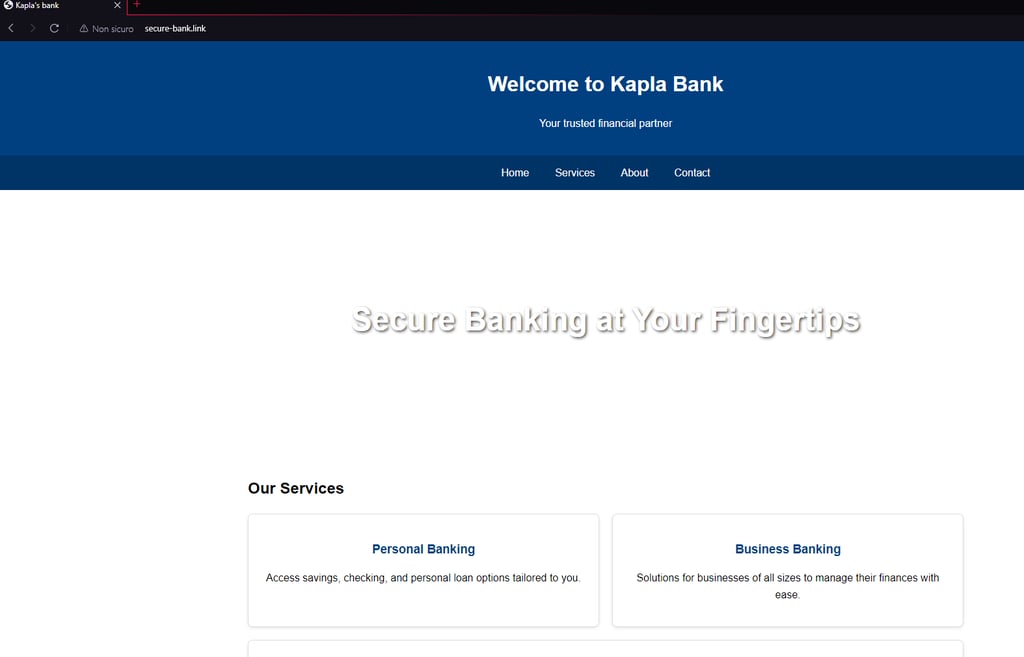
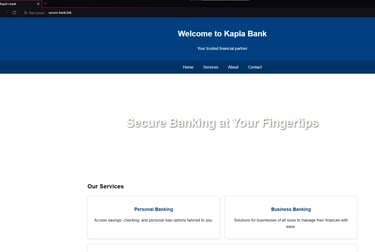
instead of serving the default `index.html` of Apache we could have a bank template to make things look more legit:
To enable the Apache SSL configuration, we need to link the default-ssl.conf configuration file:
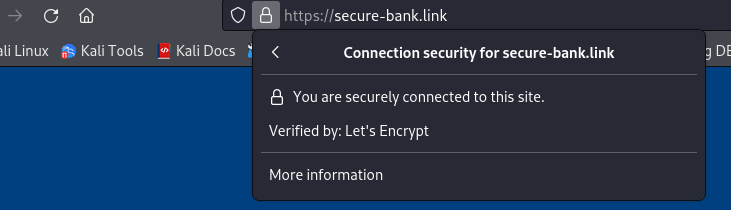
We currently don't have a trusted signed certificate, to get one we can use Let's encrypt. Certbot is a tool that can automate the process of Requesting a signed certificate, to install certbot in your EC2 instance use this command:
You can now request a certificate (Remember to stop Apache during this process)
Now we need to specify Apache the location of the Certificate and Key files. To do so modify the SSLCertificateFile and SSLCertificateKeyFile values in `/etc/apache2/sites-available/default-ssl.conf`
These configuration lines enable SSL on the server, allow SSL proxying, and disable various SSL verification checks for proxy connections (such as certificate verification, peer common name, peer name, and expiration).
The final configuration should look like this:
Now restart Apache and navigate to the site once more: It works!!!
modify the .htaccess file to match HTTPS:
now we need to forward the traffic again with SSH but this time to match localport 4443:
But when start the HTTPS listener in Havoc, and we try to curl the EC2 instance local port, we get a certificate error:
This happens because Havoc is using his default self-signed certificate, even tho in the Apache configuration we added some Proxy rules it is still good practice to use the Let's encrypt certificates. To tell Havoc what certificate to use, we need to create a listener through the malleable C2 profile. Havoc offers an incredible amount of flexibility, allowing us to customize the listener as much as we want.
The first step is to download the certificate & key file to teamserver machine, to do so change the file permission in the EC2:
Now download and clean
Now in the Havoc profile we need to add the Listener Block, I specified the following settings:
The fields are self-explanatory, what you need to focus on is the Cert block, in here you can specify the certificate that THE listener will use. Do note that this applies to ONLY the listener in the profile, so if you create a new one via GUI the default self-signed cert will be used instead.
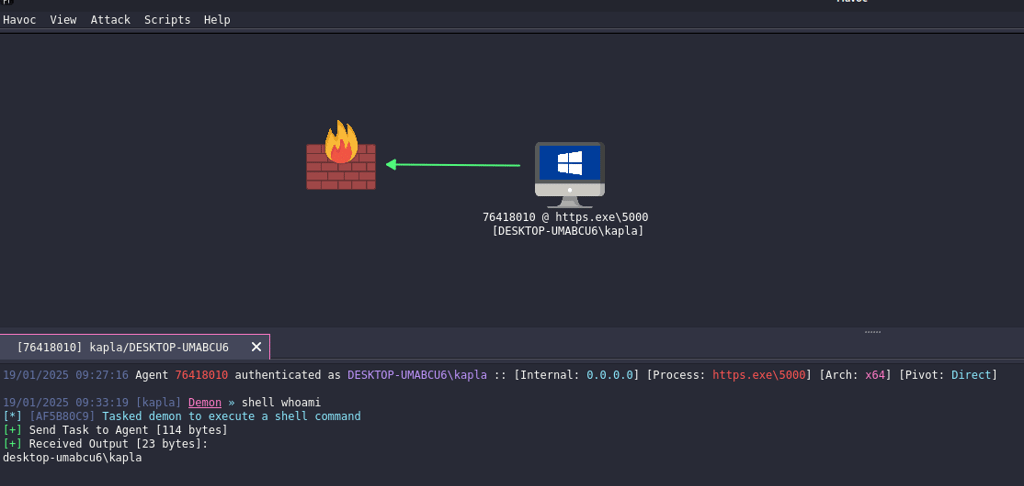
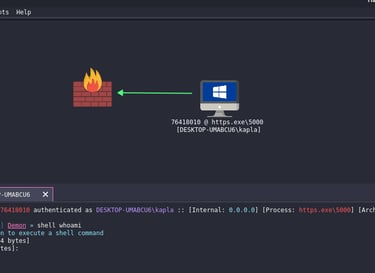
Restart the teamserver and generate the https beacon, after that transfer it to a windows test machine and execute the beacon, if everything was done right you should get a reverse connection back:
Security Considerations
Instead of setting up all these redirects, why not host the team server directly in the cloud? The reason is that giving direct internet access to the team server is risky. For example, imagine a scenario during an engagement where we simulate a an assumed breach, and we receive a beacon back to perform our operations. If someone gains access to the team server, they would already have access to the client’s network, which could lead to a compromise.
Closing
If you're trying to replicate what you've learned: 1) Do it on machines you own or have permission to use. 2) If you ever get stuck, join our community, where I can provide direct assistance.
If you like this series, please consider supporting me!