Creating a NetExec module
In this blog, I will take you through how to develop a NetExec module, from start to finish. Additionally, I will teach you how to set up the lab and the entire development chain, ensuring you have everything you need to get started.
DEVELOPMENT
Lorenzo Meacci @kapla
11/18/20249 min read
What is Netexec?
NetExec (a.k.a nxc) is a network service exploitation tool that helps automate assessing the security of large networks. And is the successor of the CrackMapExec project, which is no longer supported.
NetExec supports a variety of network protocols, assessing the security of large networks composed of Windows workstations and servers.
Intro
In this blog I will guide you on how to develop a NetExec/CrackmapExec module from start to finish. From lab setup to module deployment and a bit of theory behind each attack.
Goal
Before starting a project, it's essential to clearly define your goals, understand what you want your module to accomplish, and outline how to achieve it effectively.
In my case, the goal of this module is persistence. But what exactly is persistence? In the context of cybersecurity, persistence refers to an attacker maintaining control over a compromised machine, even after reboots or interruptions.
There are countless techniques to achieve persistence, but I opted for my personal favorite—ones that can be fully replicated via command line. These techniques are used among APT (Advanced persistence threat) groups and Red Teamers during their engagements.
Techniques
This module is composed of the following "persistence" techniques:
1. 'add_user' - Adds a new user/admin to the machine
2. 'malicious_binary' - Puts a malicious binary (C2 Beacon) in the startup folder
3. 'registry_run' - Modifies the Registry run key to launch the C2 Beacon
4. 'logon_script' - .bat logon script at boot
5. 'scheduled_task' - Creates a task that trriggers at logon
6. 'win_logon_userinit' - Modifies the "UserInit" registry of WinLogon
Each one will be discussed and implemented later on.
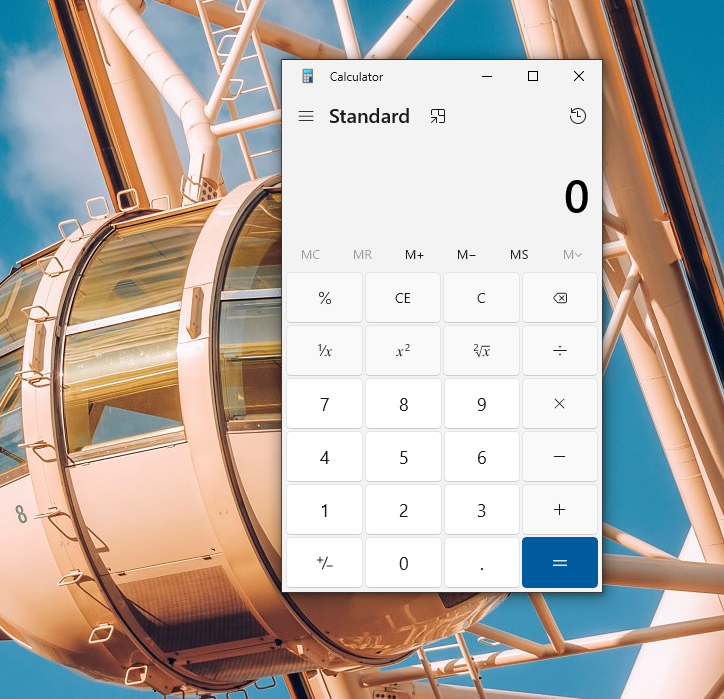
Lab Setup
The lab setup is straightforward. We require a Windows machine as the target and a Linux machine (such as Kali Linux) as the attacker. Both machines must be configured to communicate with each other seamlessly.
SMB theory and setup
The module relies entirely on SMB functionality, so this protocol must be enabled on the Windows machine. To do this, use the following command:
Now enable SMB v2:
For development purposes, disable the Windows Firewall. This will prevent SMB traffic from being blocked.
SMB command execution theory
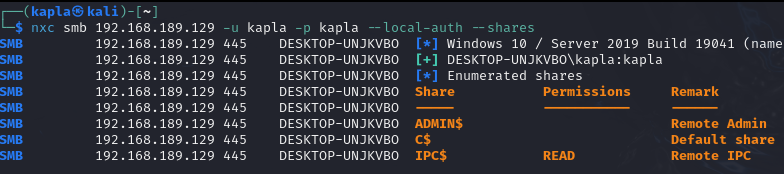
You can try to authenticate to the SMB server using an administrator account, and you will see that the authentication is successful but you can't execute commands, this is because UAC is in place.
User Account Control, is a security feature in Windows that to protect the operating system from unauthorized changes. When it comes to SMB, UAC restricts the execution of commands. By default, only the built-in administrator account with a RID of 500 has permission to execute commands via SMB. Other accounts, even if they belong to the Administrators group, are blocked from doing so.
To fix this, we need to change the value of the LocalAccountTokenFilterPolicy registry key:
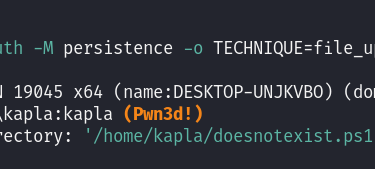
Now we can try to authenticate again, and we will notice that a (Pwn3d!) flag is present, this means we can execute commands.
Developing the module
Now that we have access to the Windows machine, it is time to actually develop the module.
Before we start, coding is essential to know how to compile the NetExec project. For that, Nxc uses Poetry with is recommended when building our projects.
To install poetry, you can use the following command:
Now that poetry is installed, we need to install Visual Studio Code:
Now we in the terminal we can type `code` and VScode will open
Next, create a file in the ./NetExec/nxc/modules directory. The file should be named after the module you are implementing. For example, in my case, I will name it persistence.py. And insert the default code for a NetExec module:
Now we need to define some variables:
1) name this is the name of the module. I will call it persistence
2) description is a short description of what the module does and it's purpose
3) supported_protools this is the list of protocols the module will operate on
4) opsec_safe is a boolean value indicating if the module is safe to run
5) multiple_hosts is a boolean value indicating if we can run the module against multiple targets
This Is what I entered:
TECHNIQUES
We are assuming the user is running the module with Administrator privileges, otherwise he would not be able to execute commands via SMB.
The persistence techniques will be the following:
1) Create a new user and add it to the Administrator's group
2) Putting a malicious binary ex (C2 Beacon) in the startup folder
3) Modify the registry run to the path of the C2 beacon
4) Logon scripts
5) Scheduled Tasks
6) Modify the "UserInit" registry value of WinLogon and point it to the path of the malware
Each technique will be discussed later, for now let's start with the easier ones and build from there.
We will also have a Method called options() this will allow the user to insert the variables using the -o flag
add_user
This is the simplest method I could choose, inspired by the CrackMapExec course on HTB. The method's name is self-explanatory—it simply adds a new user to the Admin group. Users can specify a username and password, but if none are provided, the module will default to the preconfigured credentials.
First, let's declare the default variables:
Now that we have the default values, we can create an `if` statement checking if the USER and PASS variables were specified by the user, if the values exist they will be stored:
Now we can go on and create the method `add_user`:
The final step is to add another if statement in the on_admin_login() method. This method determines what actions will be executed on the machine after login. In this case, the if statement ensures that the technique is initiated if it has been selected.
Let's test the module!
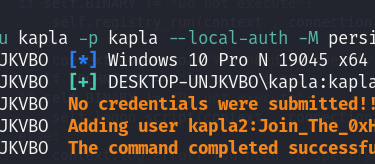
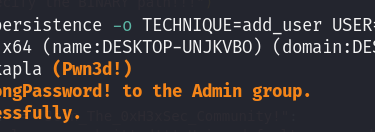
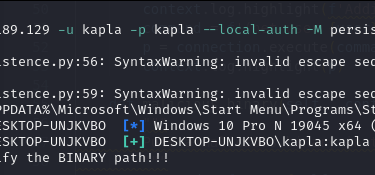
No USER & PASS:
With USER & PASS:
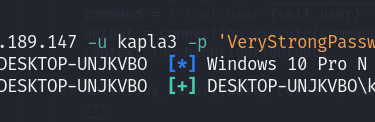
Now we can test the new added user credentials:
First method complete!!!
malicious_binary
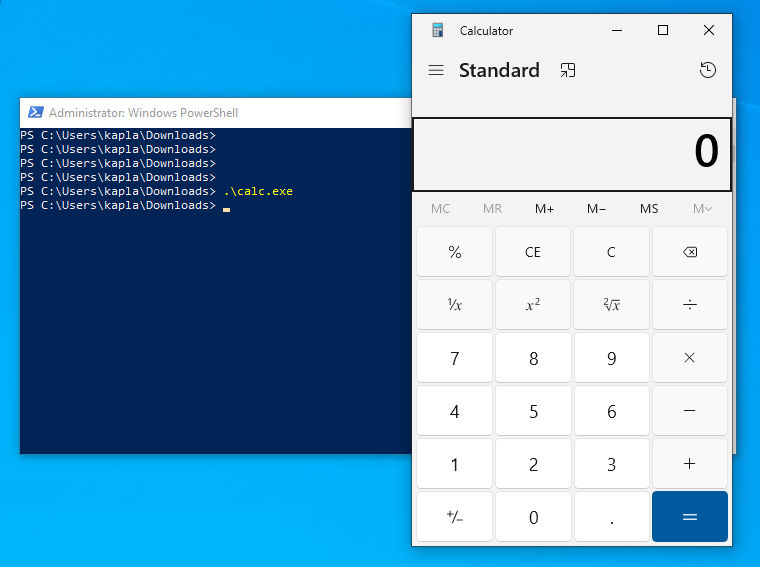
This technique involves copying a binary from a specified path to the user's startup folder. Once the technique is executed, the malicious file will automatically run when the user logs back into the machine.
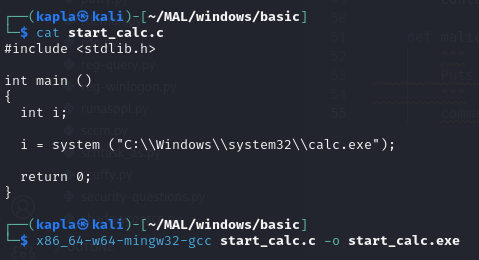
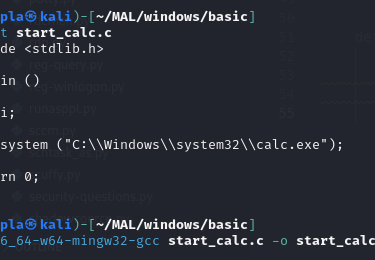
For simplicity, I tested this technique using the most basic and easily detectable executable—a simple system method that spawns calc.exe. To avoid interference, I disabled Windows Defender during testing. However, this does not diminish the validity of the persistence technique itself. In future posts, I’ll demonstrate how to evade security solutions like Windows Defender.
Compile the binary:
Now test the binary:
For this technique, the process is slightly different. First, we need to accept a path as input from the user and handle cases where the binary field is left blank.
Firstly, let's create a BINARY variable in the options' method:
Now in the on_admin_login() method we need to check if the user inputted a PATH to the binary:
Now we can create the method:
Now we can test the new method without specifying the binary, and it will correctly display an error:
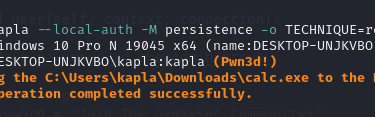
We can now specify the binary variable:
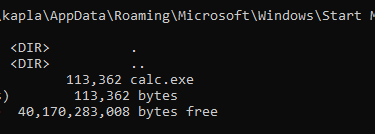
Check if the binary was actually copied:
We can now login again and a calc.exe will pop up:
What now?
Now that we’ve learned how to execute commands on the target machine, try the following challenge
CHALLENGE: Try to develop a module that disables windows defender and firewall
And what about OPSEC???
Some techniques in this module rely on command execution on the target machine, such as add_user. Initially, my idea was to always use the command execution functionality in nxc to modify registry values (this is the approach explained in the blog). However, this method is not ideal, as executing commands via SMB is likely to trigger any decent antivirus solution (Not Windows Defender lol).
Since some techniques in this module only require registry manipulation, we can avoid command execution entirely by leveraging the Impacket library. Specifically, the `hBaseRegSetValue` method from rrp allows us to directly modify registry values in a stealthier way.
At the time of writing this blog, I am still in discussions with the NetExec maintainers about how to implement rrp. The blog will be updated once the new methods are finalized, and the module may eventually become available to everyone.
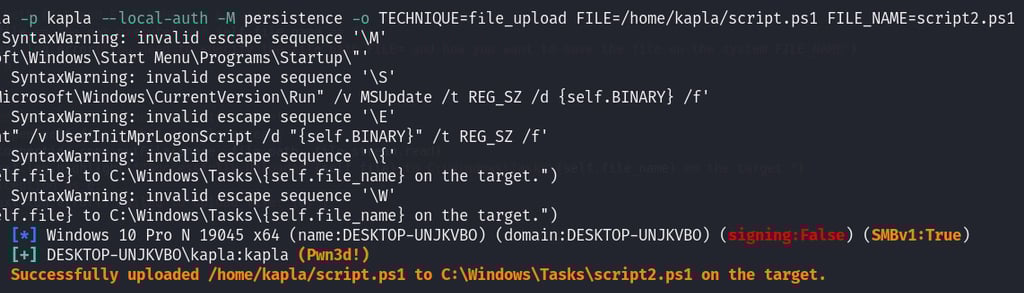
File Transfer
Most of the techniques in this module require a file to be on disk, so how do we get it there? There are plenty of ways to transfer files, but I thought adding a simple function to handle that for us would be a cool and compact feature.
In NetExec, there's already an upload function, which you can use with this command:
To create a custom method in our module that does the same, we can use the `connection.conn.putFile` function from Impacket.
To use this function, we need to specify the following variables:
1) share this is the remote share on the Windows machine ex (C$)
2) file_path this is the path in which the file will be saved ex (Windows/Tasks/{self.file_name})
3) self.file this attribute is the path of the file we want to transfer
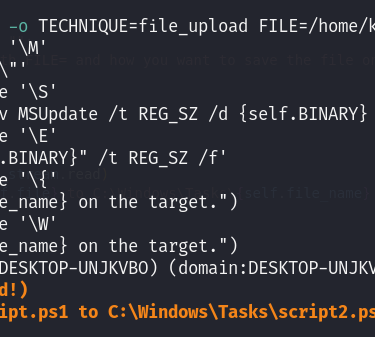
This is the final method:
The self.file and self.file_name are passed as parameters in the command:
Er
Error Handling: no file exists
BIG THEORY MOMENT!!
For now, I have explained all the code related parts, from now on it is only a matter of changing the input arguments and changing the command's. So I will pause a second to explain all the attack theory for the attacks that haven't been covered yet.
Run registry: This technique involves modifying the registry's Run key. Any executable path listed in the Run key will be executed when a user logs into the machine.
In Windows, we can use the following command:
To remove the value:
NetExec module:
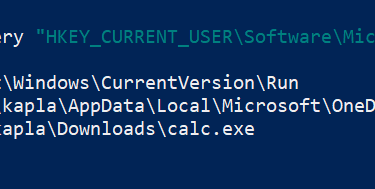
check if the registry was updated:
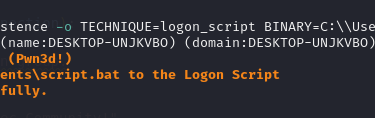
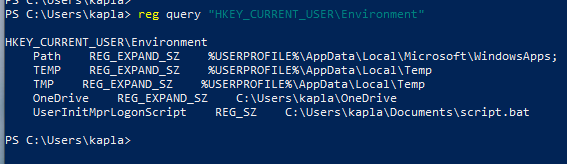
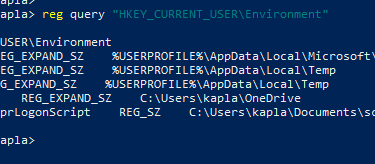
logon_scripts: In both Active Directory and non-AD environments, system administrators might use logon scripts for various tasks such as Quick Configuration, Offline Functionality, Resource Efficiency, Security, Compliance, and more. This module will not cover how to modify logon scripts in an AD environment, but instead, it will focus on modifying the local user logon script on the machine. This can be achieved by adding a .bat or .vbs file that executes malicious instructions to the UserInitMprLogonScript subkey in HKEY_CURRENT_USER\Environment.
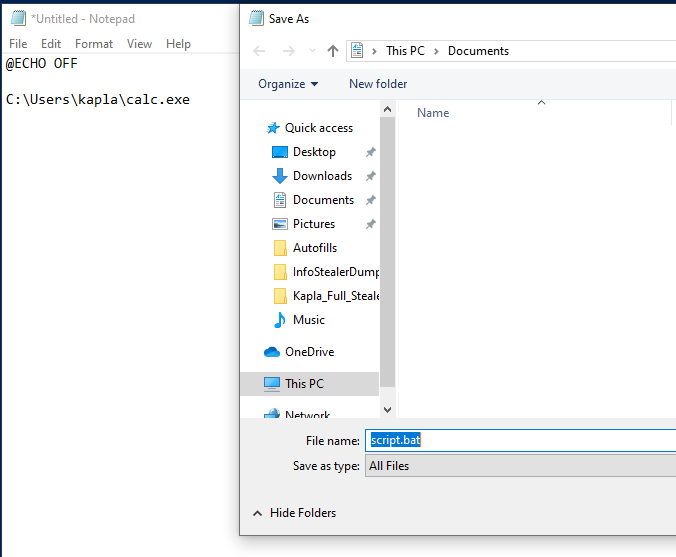
Create the .bat file:
run the module:
check the registry:
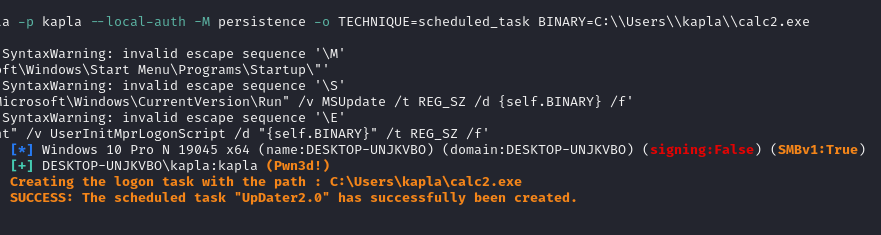
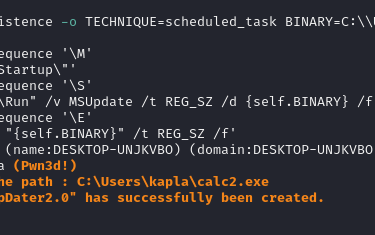
scheduled_task: In this method, I will create a logon scheduled task. To elevate the task to run with admin privileges, we need to import the generated task XML and add a line of code specifying the integrity level. This step must be done manually, so it will not be covered in this module.
run the module:
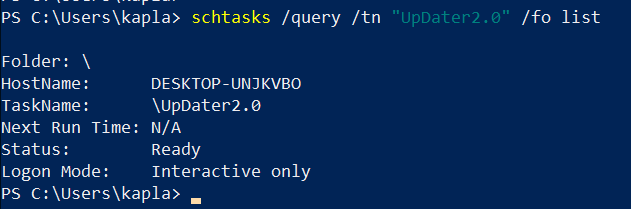
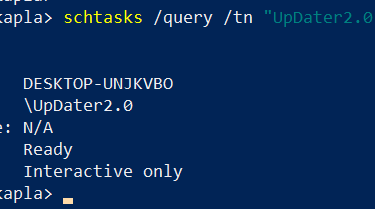
Query the task:
note:to check if the techniques work just sing-out and login again
after login calc spawns as expected :)
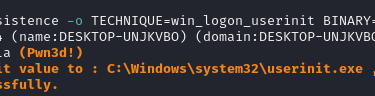
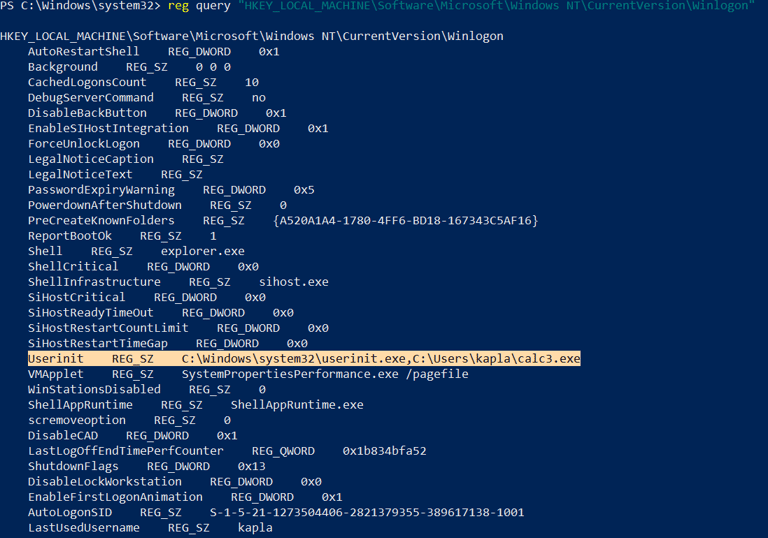
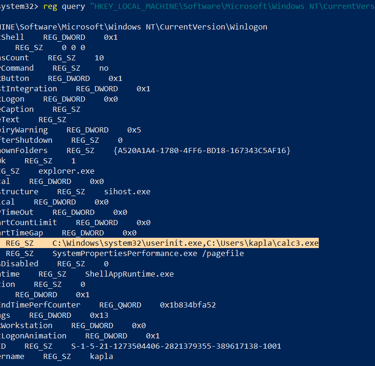
Win Logon Userinit: For this method, registry modification is required again. The code needs to add the path of the malware to the UserInit value of Winlogon. This way, the malware will be triggered whenever the user logs into the machine.
Check the registry:
FINAL CODE
For now, here's the code for the module. I hope you've enjoyed the guide!